How to setup a VPN client connection using the built in Microsoft VPN Client
Step 1
-Click Start
-Right click Internet
-Click Internet Properties

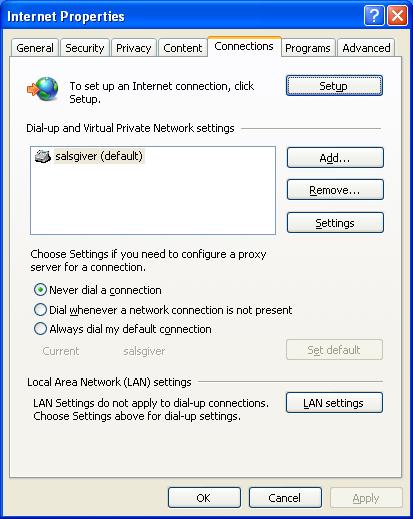
Step 2
-Click the Connections tab along the top row
-Click Setup
Step 3
-Click Next

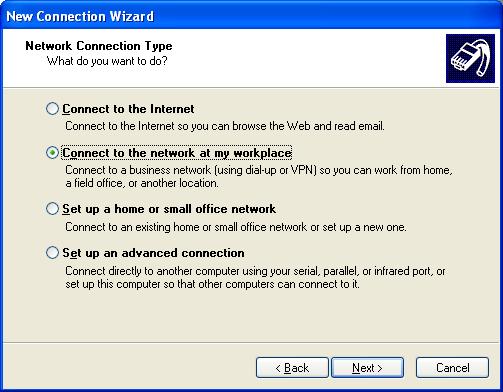
Step 4
-Select "Connect to the network at my workplace"
-Click Next
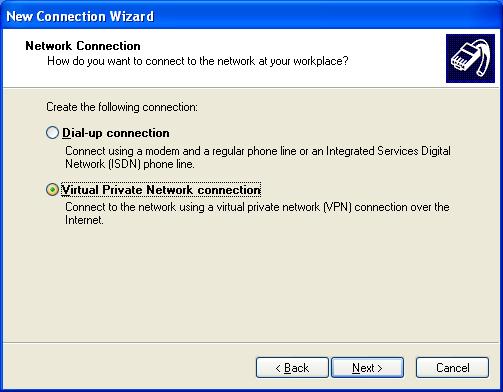
Step 5
-Select "Virtual Private Network connection"
-Click Next
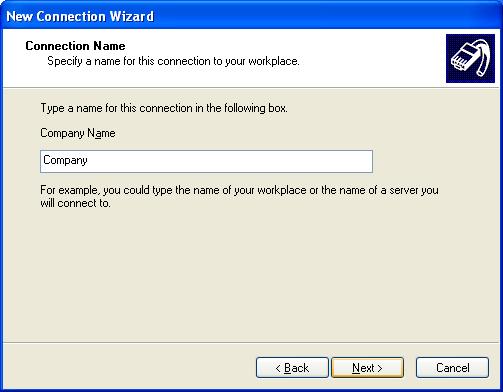
Step 6
-Type in the name of your company
-Click Next
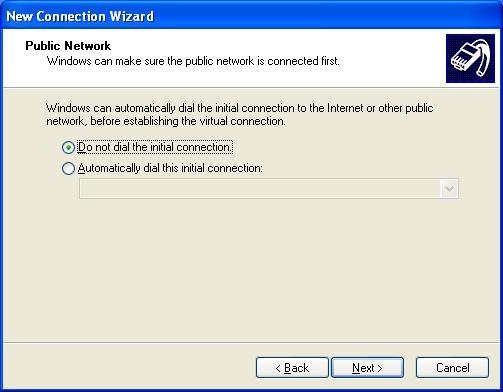
Step 7
-Select "Do not dial the initial connection" (unless you have dial up internet service at home)
-Click Next
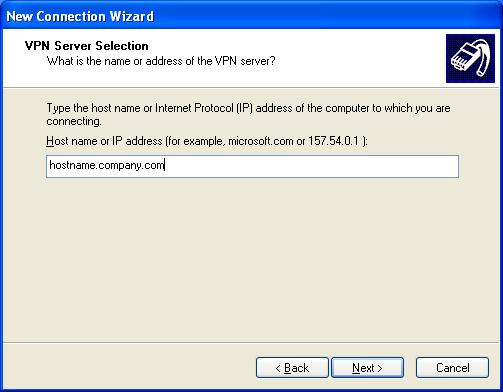
Step 8
-Type in the host name or ip address of your vpn server location
-Click Next
Step 9
-Put a checkmark in "Add a shortcut to..."
-Click Finish

Step 10
-Go to your main desktop screen and double click this new icon.

-If you were not provided with a key, skip the rest of this step and go to Step 13
-If you have a key, click Properties

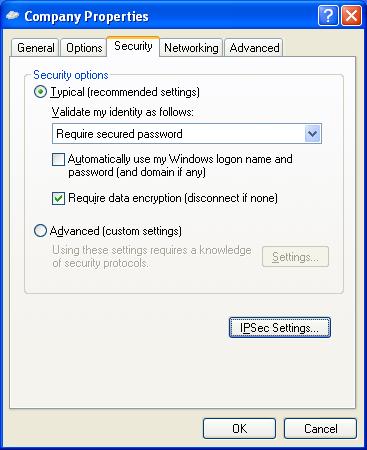
Step 11
-Click the Security tab along the top row
-Click IPSec Settings
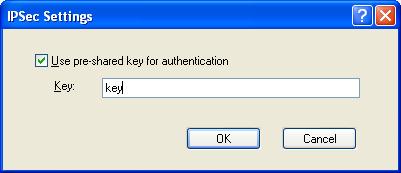
Step 12
-Put a checkmark in "Use pre-shared key for authentication"
-Type in the key name provided to you
-Click Ok
-Click Ok again
Step 13
-Type in your username and password provided to you
-Click Connect
You should now be connected to your main network and you can now proceed as you normally would, directly communicating with servers inside the main network.
You may notice an icon down near your clock indicating that you are now connected to your main network.
You can always double click this icon...

...or the new desktop icon to disconnect